
It's been a while since I've been working on the DEY-3 (S-1) locomotives, but Mike Redden brought the new one-piece cabs he's 3D printing at home, instead of the flat kit he has available at Shapeways. In addition he now has the proper fan shutters and the low-profile radiator shutters.
I'm working on two units for HDX-5, nos. 0967 and 0994 for different years.
There are two versions of the Proto 2000 S-1, here's the one with the square fan housing. It comes with an etched fan grate, but unfortunately it should be shutters like an RS-1. Also note the radiator shutters, with 11 wide shutters and how they protrude a couple of inches from the hood. This was a later style of shutters, automatically operated. On the New Haven, this style was on the post-war DEY-3 locomotives, starting with no. 0971.

Chris started a chat with our CAD buddies Chris Zygmunt and Mike Redden last year to produce the correct cooling fan shutters. Mike has them available now, designed to fit the Proto 2000 models. I was able to provide photos and measurements from an RS-1 shutter, which are identical.
I'm not using a walk-over grate. Based on photos, it appears that the New Haven didn't install these until c1954 with the introduction of the "full balloon" paint scheme. Although there are a few photos in other schemes with them, all of the dated ones are 1954 or later.
One photo of 0943 in Hartford has the narrow walk-over grate and it's still in the Pullman Green delivery scheme. Its next documented repaint was April, 1954 in the "full balloon" scheme, and was obviously prior to 1943. But I haven't documented any others, and also not with the narrow grate.

It's a see-through part with the shutters partially open, which is great because I've mounted the speaker up front. This is mounted on the second version of the Proto model. I drilled out the top and scratch built the square housing to the same dimensions as the other model. Why? Because that version of the model has flush-mounted radiator shutters. Unfortunately, it still has the 11 wide shutters, instead of the 24 narrow shutters on the prototype. Now that Mike has made the correct ones, I'll replace them.

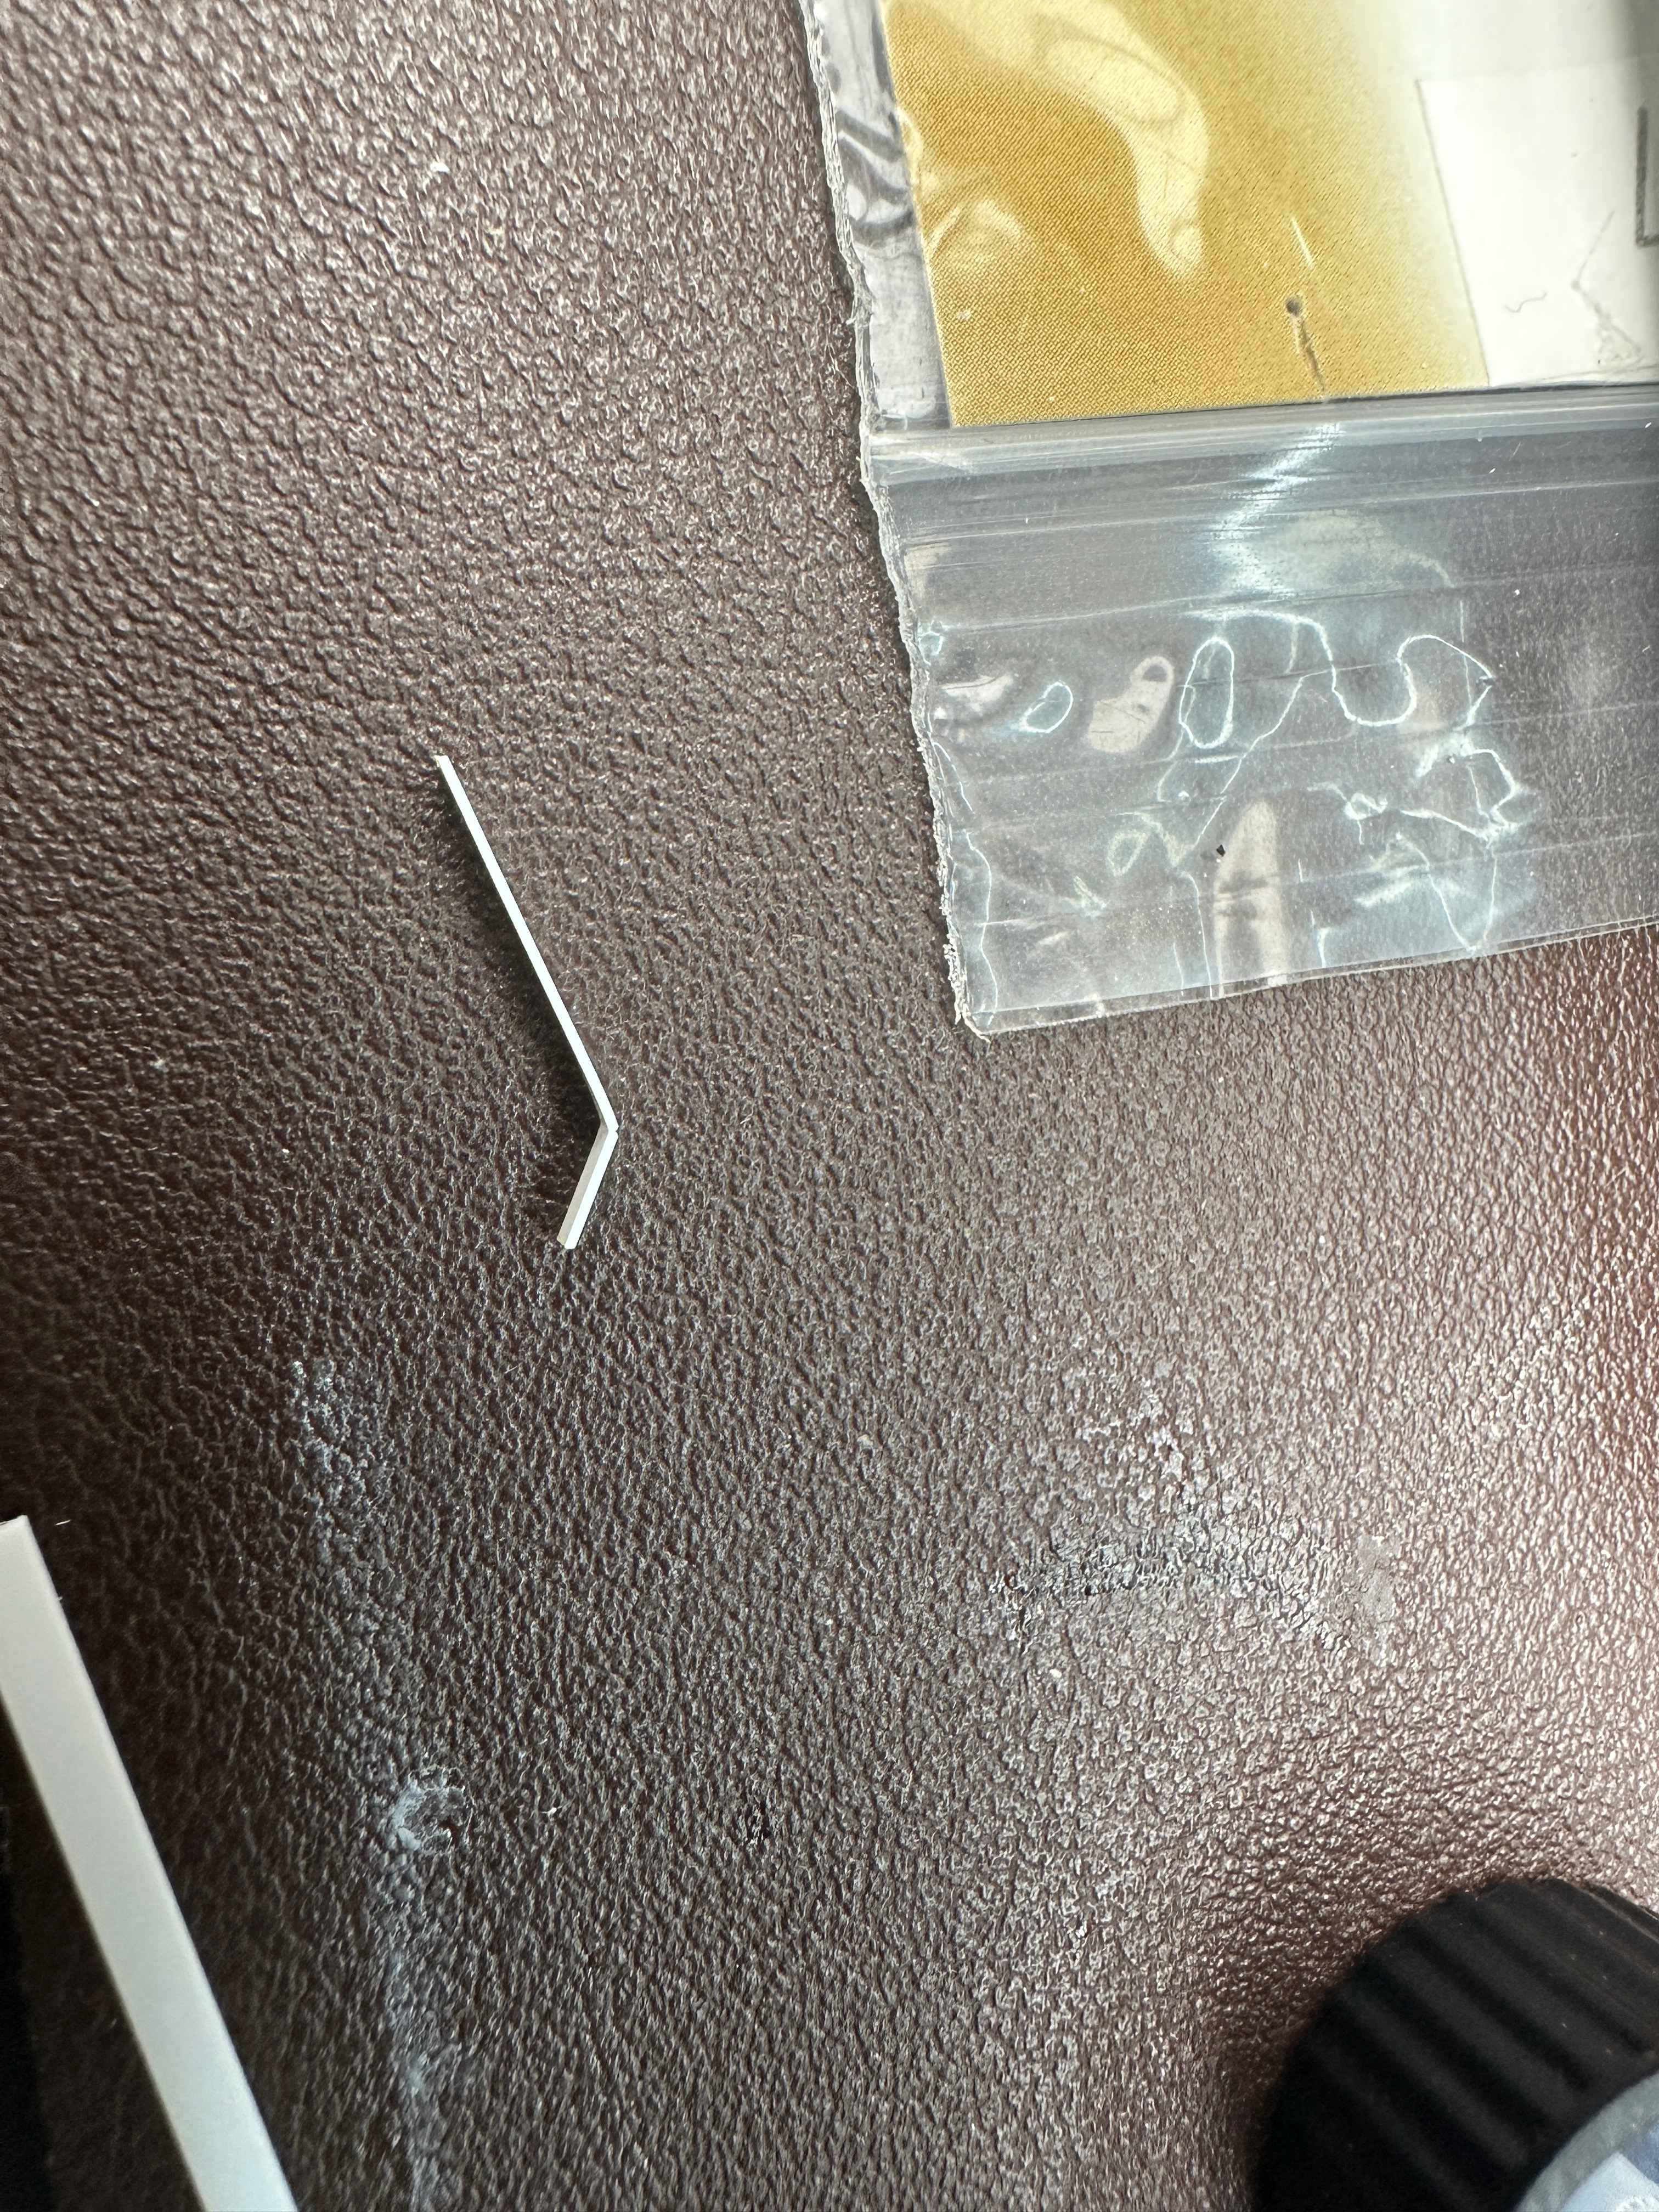
To do that I just drilled a bunch of holes, then cut and filed away the old shutters so I could replace them with the new ones. Mike's part installs from the outside, and the flange covers hides the seam, so it doesn't have to be perfect. Here are a couple of pictures with the new fan and radiator shutters. This will be no. 0967.


I'm using a Custom Finishing no. 103 whistle, as it's based on the NH prototypes. It's slightly large/tall, but their shorter whistle is based on a NYC single chime prototype. I'm also using one of the pipes with an elbow from the Precision Scale no. 4839. It's marketed as O-scale parts, but will work well for this. The Precision Scale no. 3321 Hancock vertical check valve (a part that's no longer produced) will be used in the next post...

The pipe has an elbow that is already cored. I shortened the post on the whistle and soldered them together.

Although probably large, I used a strip of 1"x8" styrene because it was wide enough to drill for a Cal Scale no. 512 U-bolt to attach the whistle in the same way the New Haven did.

I scored a second piece of 1"x 8" styrene so I could bend it to make a handle for the other part of the whistle bracket.
You can see how I'm installing it here using styrene cement, and a picture of the prototype behind it. On no. 0967 it's mounted about a foot forward of the cab roof.


On the second unit, no. 0994, it is mounted about three feet forward. you can see the difference in spacing between the two below:

More to come...
I like your whistle. I did purchase some Precision Scale elbows for the pipe. They're probably smaller than what you used. I was wondering what to used for the U bolt. Now I know about the Cal-Scale part. Thanks for the tips.
ReplyDeleteVery nice. I have Mike's original cab, might have to grab the new one piece one and some shutters. Thanks for posting this.
ReplyDeleteComing along very nicely!
ReplyDeleteI am trying to find what paint scheme NYNHH used on the Diesels used to pull freight after the steam locomotives. Any pics would be appciated
ReplyDeleteSure. I did a post for switchers and road switchers that also has a link to a spreadsheet I made with more data:
Deletehttps://blog.newbritainstation.com/2021/09/switcher-paint-schemes.html?m=1
The DL-109s are somewhat complex, I cover them separately here:
https://www.newbritainstation.com/locomotives/der-1-dl