Showing posts with label Locomotives. Show all posts

Saturday, November 22, 2025

A quick post


More to come (relatively) soon, but here are a couple of quick photos with some previews.

These are of the incredible work Chris Adams did weathering one of my 44-tonners. Look for an article in RMC in the near future from Chris. He weathered his first, but needed new pictures so needed to do another one. 

Hmmm.... something else new is underway in this photo crossing Elm St.


Here's a little patch of further ballast/ground cover experiments at Whiting St.

It helps to have a piece of weathered equipment to see how it actually looks. Most of the layout will be cinders and it has been a challenge finding the right approach, but I think I have finally found it.

More to come, but I couldn't be happier to have a model on the layout that Chris did. It looks incredible, and his Facebook and blog posts (and forthcoming RMC article) will be my go-to references for my weathering process. I've already been picking up some supplies that he uses that I didn't have. I have five in progress, along with two S-1s that are also ready for lettering and weathering. Hoping to complete them all before the end of the year.

It's a primary locomotive for the 1953 operating sessions that are my initial focus. I wonder who will be the first engineer?

Wednesday, February 26, 2025

Assembling the Rapido 44-tonner


It should come as no surprise that I have several of the Rapido 44-tonners.  This includes a couple of the decorated ones, along with four (for now) undecorated ones that I'll be doing in other paint schemes.  It was also a nice surprise to find I was mentioned in the manual (in French too!). (It should also come as no surprise that I started this post on November 18...).  


Like many undecorated locomotives, these are unassembled. Most of the assembly is pretty straightforward, but since instructions aren't included I thought I'd mention a few things.  First, there are details that need to be installed on the running boards, but holes have not been pre-drilled. But there are dimples underneath for that purpose, you just need to figure out which ones are needed, since not all are used for every phase.

Looking at the picture below, here are what the holes are for (on the NH models, anyway):
  • Blue - bell. There's a hole at the other end of tanks too, which may be used for the bell on other roads.
  • Green - steps for Phase Ic models. The one closer to the edge is also the alignment for the skirt. You need to drill the hole in the semi-circular portion closer to the center of the model.
  • Yellow - steps/curved portion of the cab for Phase III model. This probably applies to the Phase IV models too, but I don't have one to verify.

The side frames that come preinstalled are the later version, for the Phase III and Phase IV models. They need to be replaced for the Phase Ic version. I did this the hard way, not realizing that they trucks themselves are easily removed (I hadn't read the portion of the manual regarding removing the coupler, since I wasn't planning on doing that...).

You do need to remove the pickup contact strips to install on the other side frames. It appears they attached them using heat to melt the plastic pins. It's easy enough to pry the strips off the plastic sideframes.

To install them on the new sideframes I didn't want to use heat.  Instead, I applied a liberal amount of styrene cement and used the flat end of a pair of tweezers to mash them down.


I won't bother to explain the process I had to use to reinstall the trucks since you all know now that you can simply pull and turn to remove the entire truck assembly.

As for other details, note that the New Haven units used one of two horns.  The Phase Ic units had Wabco AA-2 horns.  The A-2 horn was produced in short and long bell versions. The AA-2 has the short stacked on top of the long.

The phase III and IV units used the long bell A-2.


Wednesday, February 19, 2025

Fiddling

Progress is one of those things that I think we all struggle with from time to time.  Tom Jacobs has his "hour a day" mantra and Chris Adams has "do one thing." Similar approaches are great ways to keep things moving.

My approach is similar, but in an ADHD bent rather than an OCD sort of way.  What's the difference? Chris and Tom get more things completed.

Rather than try to force myself to do those things that I should be doing, I've gone back to doing whatever I gravitate to instead. Lately that has been fiddling around with freight car kits. Cleaning flash off resin kits, drilling holes, etc. are great mindless things when my brain has had enough, but I want to keep busy. That has led to assembling some bodies and doing some of the detail work when a particular kit captures my interest. 

This leads to lots of projects in progress, but my theory is that they will all get finished eventually.  Progress is progress, after all. There is a bit of method to my madness, though.  When I start doing a particular task, such as cleaning flash or drilling holes, it's easy to just keep moving forward with that task.  Thus, pulling several kits (often with a theme) and completing the process on several.

In addition to getting to see the cool kits I've picked out over the years as important to my layout, right now it's a better approach for me.  Changes in work has left me more mentally fatigued than short on time. These more mindless tasks are good distractions, but also let me give my brain a rest.  The reality is, for me anyway, that my brain becomes more productive and finds solutions best when I don't think about them. So this approach ends up being helpful for my work and my modeling. The apparent chaos can be a good thing.

The big thing here is that, as a hobby, it's supposed to not only be fun, but engaging. It's a distraction from the rest of life, and a better one (at least for me) than just watching TV or videos online (I've done way too much of that already).  It's also a way of accomplishing things that are uniquely you.  Leaning into my nature has already made me far more productive, and I have already found solutions to some of the things that have been holding me back on those things that I should do.  As a result, I do want to complete a number of these works in progress, and get to a few critical things to get the layout fully operational again, and set up in a way that I can be prepared for regular sessions. And scenery.

So what have I been working on?

Rapido 44-tonners


Various Box Car Mini-kits and Kitbashes

Ballast and Cinders experiments

Painting and Weathering Ties Experiments

Resin Gondola Kits

Resin Reefer Kits

Reorganizing

Monday, June 24, 2024

NH DEY-3 Part IV: Painting

During the tail end of recovering from Covid I decided an easy thing to work on would be some painting. Getting out the airbrush is one of those things that seems much more complicated than it really is. Especially since I've set things up to be as quick as possible, both getting started and getting cleaned up. I've done a few posts on the DEY-3 project before:

Part I: Installing DCC  - Part II: Details - Part III: More Details

Some time ago I painted body and cab for what will be 0967, then installed the windows and it's ready for next steps. This was an easy job since it's all Pullman Green. I used Stynylrez gray primer and Badger New Haven Pullman Green.


Incidentally, 0967 also ran on the Valley Line for a while, and Chris has done an extensive series of how he modeled this locomotive. His progress is part of what got me looking at my models again. There's little point in me describing the same steps that he took for his excellent model. Here are his posts:

Now that Chris has so thoughtfully asked (assigned) me to be editor of Speed Witch, I expect a draft of this article soon...

The second unit, 0994, was delivered in Hunter Green and Warm Orange. I had started this some time ago, but wasn't quite getting an orange that I liked. The Badger New Haven Warm Orange looks right, but over the gray primer it looked dingy.  So I tried it over Stynylrez white primer, and then it was too bright.


Then I found out Stynylrez has an orange primer (they also have a dark green). That's what I used this time, and the Badger looked good over it, but still not quite the correct orange. Orange paints are fairly transparent, and it takes several coats to get to the actual color that it appears with a full coat. I decided to take advantage of this effect and try what is often called a "filter."  This is using a thin coat of paint over the existing color in order to alter it. In this case, Vallejo Air orange had a bit more red (I think) in it. It doesn't look right by itself, but I thought that it would shift the Badger orange just enough.  After a couple of thin coats of the Vallejo orange, I compared it to the NH Color Guide paint chip:


It's not a perfect match, but I'm very happy with how close it is. It's also repeatable, and that's what I did for the back of the cab - Stynylrez orange primer, Badger NH Warm Orange, and Vallejo Air orange in that order. The green is Stynylrex green primer with Badger NH Hunter Green. Here it is next to the Pullman Green 0967. The back of the cab looks like it has a bit more red in this photo, but that appears to be a combination of the lighting, angle, and how the camera picks it up since it doesn't look that way in person. 


I also compared it to the Life-Like factory colors on the RS-2. Again, close enough for me.  Mike Redden included pre-cut masks for the fillet with the low-profile cab kits, so I masked it up and added that. Here are the with windows, crew and interior. 


I plan on a gloss coat, probably of Future (I have some left) or Quick Shine (a different brand of what seems identical).  Part of the reason is that these products can also be used to eliminate scratches and clarify clear parts. So I won't need to mask the windows (just cover up the engineer behind the open one).  Once the lettering is done, I will do a semi-gloss finish since these are relatively new locomotives on my layout. Then weathering.

Monday, June 17, 2024

ALCO RS-2 Build List

One of the articles that I have been working on for Shoreliner covers the DERS-2 locomotives (RS-2 and RS-3).  There is one specific piece of information I haven't been able to nail down, so I'm simultaneously hoping others may have a reference I don't, while sharing the list that I've compiled that  I don't think has been published anywhere in this form.

Of course, this is a work-in-progress, so may be in need of many corrections.

Alco Specification E-1661

When built, the RS-2 designation didn't exist yet. The first locomotives were built using Alco Specification E-1661. The RS-2 name wasn't applied until c1952, after production had evolved to the RS-3 (Specification E-1662).

Alco Specification E-1661A (and B)

In March of 1947, D&H 4006 (builder number 75141) was built under the new specification E-1661A, although CIL 22 (b/n 75142) was the first delivered, although a different account identifies GN 200-203 (built June 1947) as the first. So yes - inconsistent.  This was a significant upgrade, as the belt-driven auxiliaries were replaced by gear-driven ones.  However, locomotives combined to be built under the original specification simultaneously, into 1949.

The New Haven diagram only lists one auxiliary generator, the 5GY24A, which was the belt-driven generator used in specification E-1661.  This would imply that the first run (December 1947-January 1948) and second run (November-December 1948) were all built to specification E-1661, even though locomotives were already being built with Specification E-1661A. 

Although many references group E-1661A and E-1661B specification locomotives together, only the nine MLW-built units were specification E-1661B.

According to Kirkland, there were 35 locomotives built to specification E-1661, the last of which were five CGW units (53-57) built August 1949.

There were fifteen built before March 1947:

  • D&M (5)
  • D&H (7)
  • CIL (1)
  • Demonstrator (2)

And two were exported to Ontario Northland. Including the final five units for CGW, that leaves only thirteen of the thirty-five which isn't enough to cover all seventeen of the New Haven units. It is likely that CGW 50-52 were also this specification. That leaves only ten units built for the NH.

In that case, the first order of ten (0500-0509) would be specification E-1661 with belt-drive auxiliaries, completing the 35 units built under that specification. This makes sense.

But that would mean the second group of seven (0510-0516) had to have been built under the second E-1661A specification and not the earlier one, and the NH diagram is missing information.  The alternative is that published accounts (which seems to start with Kirkland) of only 35 locomotives being built under specification E-1661 is inaccurate.  I suspect it's probably a 50-50 chance of either.

In theory, all of these records are held by the ALCO Historical & Technical Society, but they aren't in a position to find them right now due to some reorganization going on now.

Specification E-1661C

Multiple sources also indicate that there were 31 units built under specification E-1661C.  The major upgrade here was to the 244C prime mover with 1,600 hp. Seaboard was the first to receive them, along with WM and Erie. The thirty-first unit was Demonstrator 1600.

But the first eight "RS-3" units built, for Great Northern (197-224) were also built to this specification. They had the new RS-3 carbody, but the 244C (instead of 244D) prime mover, and other mechanical aspects of the RS-2.  These changes were iterative, essentially the next step in the evolution of the major components. But for all practical purposes, these are RS-2 locomotives, not RS-3s.

This assessment is in line with Alco's practices, too, where the mechanical specifications is what determined the type of locomotive.  In 1962, when rebuilding RS-3 locomotives for the NH, they were initially going to be rebuilt as (per Alco documentation) DL-701 engines. That is, they would receive 251 prime movers and, as far as Alco was concerned,  they would be RS-11 locomotives, even though they would have retained their RS-3 bodies. The financial condition dictated otherwise, and they were instead simply rebuilt with 244H, aka model 250 prime movers and other upgrades. 

--

Anyway, here's a spreadsheet that attempts to compile all of the specification numbers for Alco RS-2s. Hopefully somebody can confirm whether the second group of NH RS-2s were built under Specification E-1661 or E-1661A.

Alco RS-2 Build List and Specifications

Wednesday, July 26, 2023

NH DEY-3 (ALCo S-1) Part III: Shutter Control and Water Fill

Continuing with the DEY-3 models. Units 0971 and later were delivered with automatic shutter controls, while the earlier units had manual shutter controls. The Proto 2000 model comes with parts for the manual shutter controls. It's a small plastic part that mounts near the fan housing, and a long pipe that goes to the cab. There are starter holes inside the hood to drill out for this part. I didn't have a drill bit long enough so Chris drilled them out for me.


The Precision Scale no. 3321 Hancock vertical check valve looked like a decent match to the small motor mounted on the fan housing with the automatic shutter control. On many roads there's a small rectangular box, which is simply protecting this motor. It would have been easier to model.


To start, I drilled a hole at an angle where I wanted to mount it. I also cut off the small round extension on one end and filed it flat, and filed away the mounting bracket that is around the post. I've been using these tungsten bits a lot and find that the large diameter shaft works well as a handle and often just use them manually like this.


While working on this part, I also drilled and cut out the plastic around the fan so it will be open for the speaker. Once I mounted the part, I soldered one strand from a 32 AWG stranded wire as the conduit.


I drilled the hole for the other end based on a photo.


Many earlier units received automatic shutters as well. This motor is on all of them. Some of them received the new radiator shutters, while others retained the original shutters when converted. Not all of the S-1s received the automatic shutter systems, so I'd recommend modeling from photos.

There's also a small water fill pipe missing on the model. I made one by using a piece of 1/64" styrene rod and gluing a piece of 0.035" styrene rod centered on the end.


I cut the larger rod to a thickness that looked good, then glued a second piece of the smaller rod on the other end.


I drilled a hole in the model on the center line roughly halfway between the fan housing and the first panel seam to insert the part.


Then I trimmed off the top and filed it until I liked the dimension.


I also decided I'd rather glue on the fan shutters before painting, so I removed the fan altogether so I wouldn't have to worry about how to mask that. I'll install it after the unit is painted. I also need to figure out what to use for the fan for the other unit, since it started with the round fan housing and I drilled that one out.


Here's how the shutters and shutter actuation systems look on the two units. They've been primed with Badger Stynylrez primer, which I am finding that I love. It's very easy to work with, and appears to be a perfect base coat.

Wednesday, July 19, 2023

NH DEY-3 (ALCo S-1) Part II: Shutters and Whistle

It's been a while since I've been working on the DEY-3 (S-1) locomotives, but Mike Redden brought the new one-piece cabs he's 3D printing at home, instead of the flat kit he has available at Shapeways. In addition he now has the proper fan shutters and the low-profile radiator shutters.

I'm working on two units for HDX-5, nos. 0967 and 0994 for different years.

There are two versions of the Proto 2000 S-1, here's the one with the square fan housing. It comes with an etched fan grate, but unfortunately it should be shutters like an RS-1. Also note the radiator shutters, with 11 wide shutters and how they protrude a couple of inches from the hood. This was a later style of shutters, automatically operated. On the New Haven, this style was on the post-war DEY-3 locomotives, starting with no. 0971.


Chris started a chat with our CAD buddies Chris Zygmunt and Mike Redden last year to produce the correct cooling fan shutters. Mike has them available now, designed to fit the Proto 2000 models. I was able to provide photos and measurements from an RS-1 shutter, which are identical.

I'm not using a walk-over grate. Based on photos, it appears that the New Haven didn't install these until c1954 with the introduction of the "full balloon" paint scheme. Although there are a few photos in other schemes with them, all of the dated ones are 1954 or later.

One photo of 0943 in Hartford has the narrow walk-over grate and it's still in the Pullman Green delivery scheme. Its next documented repaint was April, 1954 in the "full balloon" scheme, and was obviously prior to 1943. But I haven't documented any others, and also not with the narrow grate. 


It's a see-through part with the shutters partially open, which is great because I've mounted the speaker up front. This is mounted on the second version of the Proto model. I drilled out the top and scratch built the square housing to the same dimensions as the other model. Why? Because that version of the model has flush-mounted radiator shutters. Unfortunately, it still has the 11 wide shutters, instead of the 24 narrow shutters on the prototype. Now that Mike has made the correct ones, I'll replace them.


To do that I just drilled a bunch of holes, then cut and filed away the old shutters so I could replace them with the new ones. Mike's part installs from the outside, and the flange covers hides the seam, so it doesn't have to be perfect. Here are a couple of pictures with the new fan and radiator shutters. This will be no. 0967.


Here's a shot of Mike's one-piece cab with the low-profile New Haven roof. I've also shortened the stack to the same height. The bell has been removed (it's mounted under the frame) and the New Haven used a 3-chime whistle instead of a horn.


I'm using a Custom Finishing no. 103 whistle, as it's based on the NH prototypes. It's slightly large/tall, but their shorter whistle is based on a NYC single chime prototype. I'm also using one of the pipes with an elbow from the Precision Scale no. 4839. It's marketed as O-scale parts, but will work well for this. The Precision Scale no. 3321 Hancock vertical check valve (a part that's no longer produced) will be used in the next post...


The pipe has an elbow that is already cored. I shortened the post on the whistle and soldered them together.


Although probably large, I used a strip of 1"x8" styrene because it was wide enough to drill for a Cal Scale no. 512 U-bolt to attach the whistle in the same way the New Haven did.


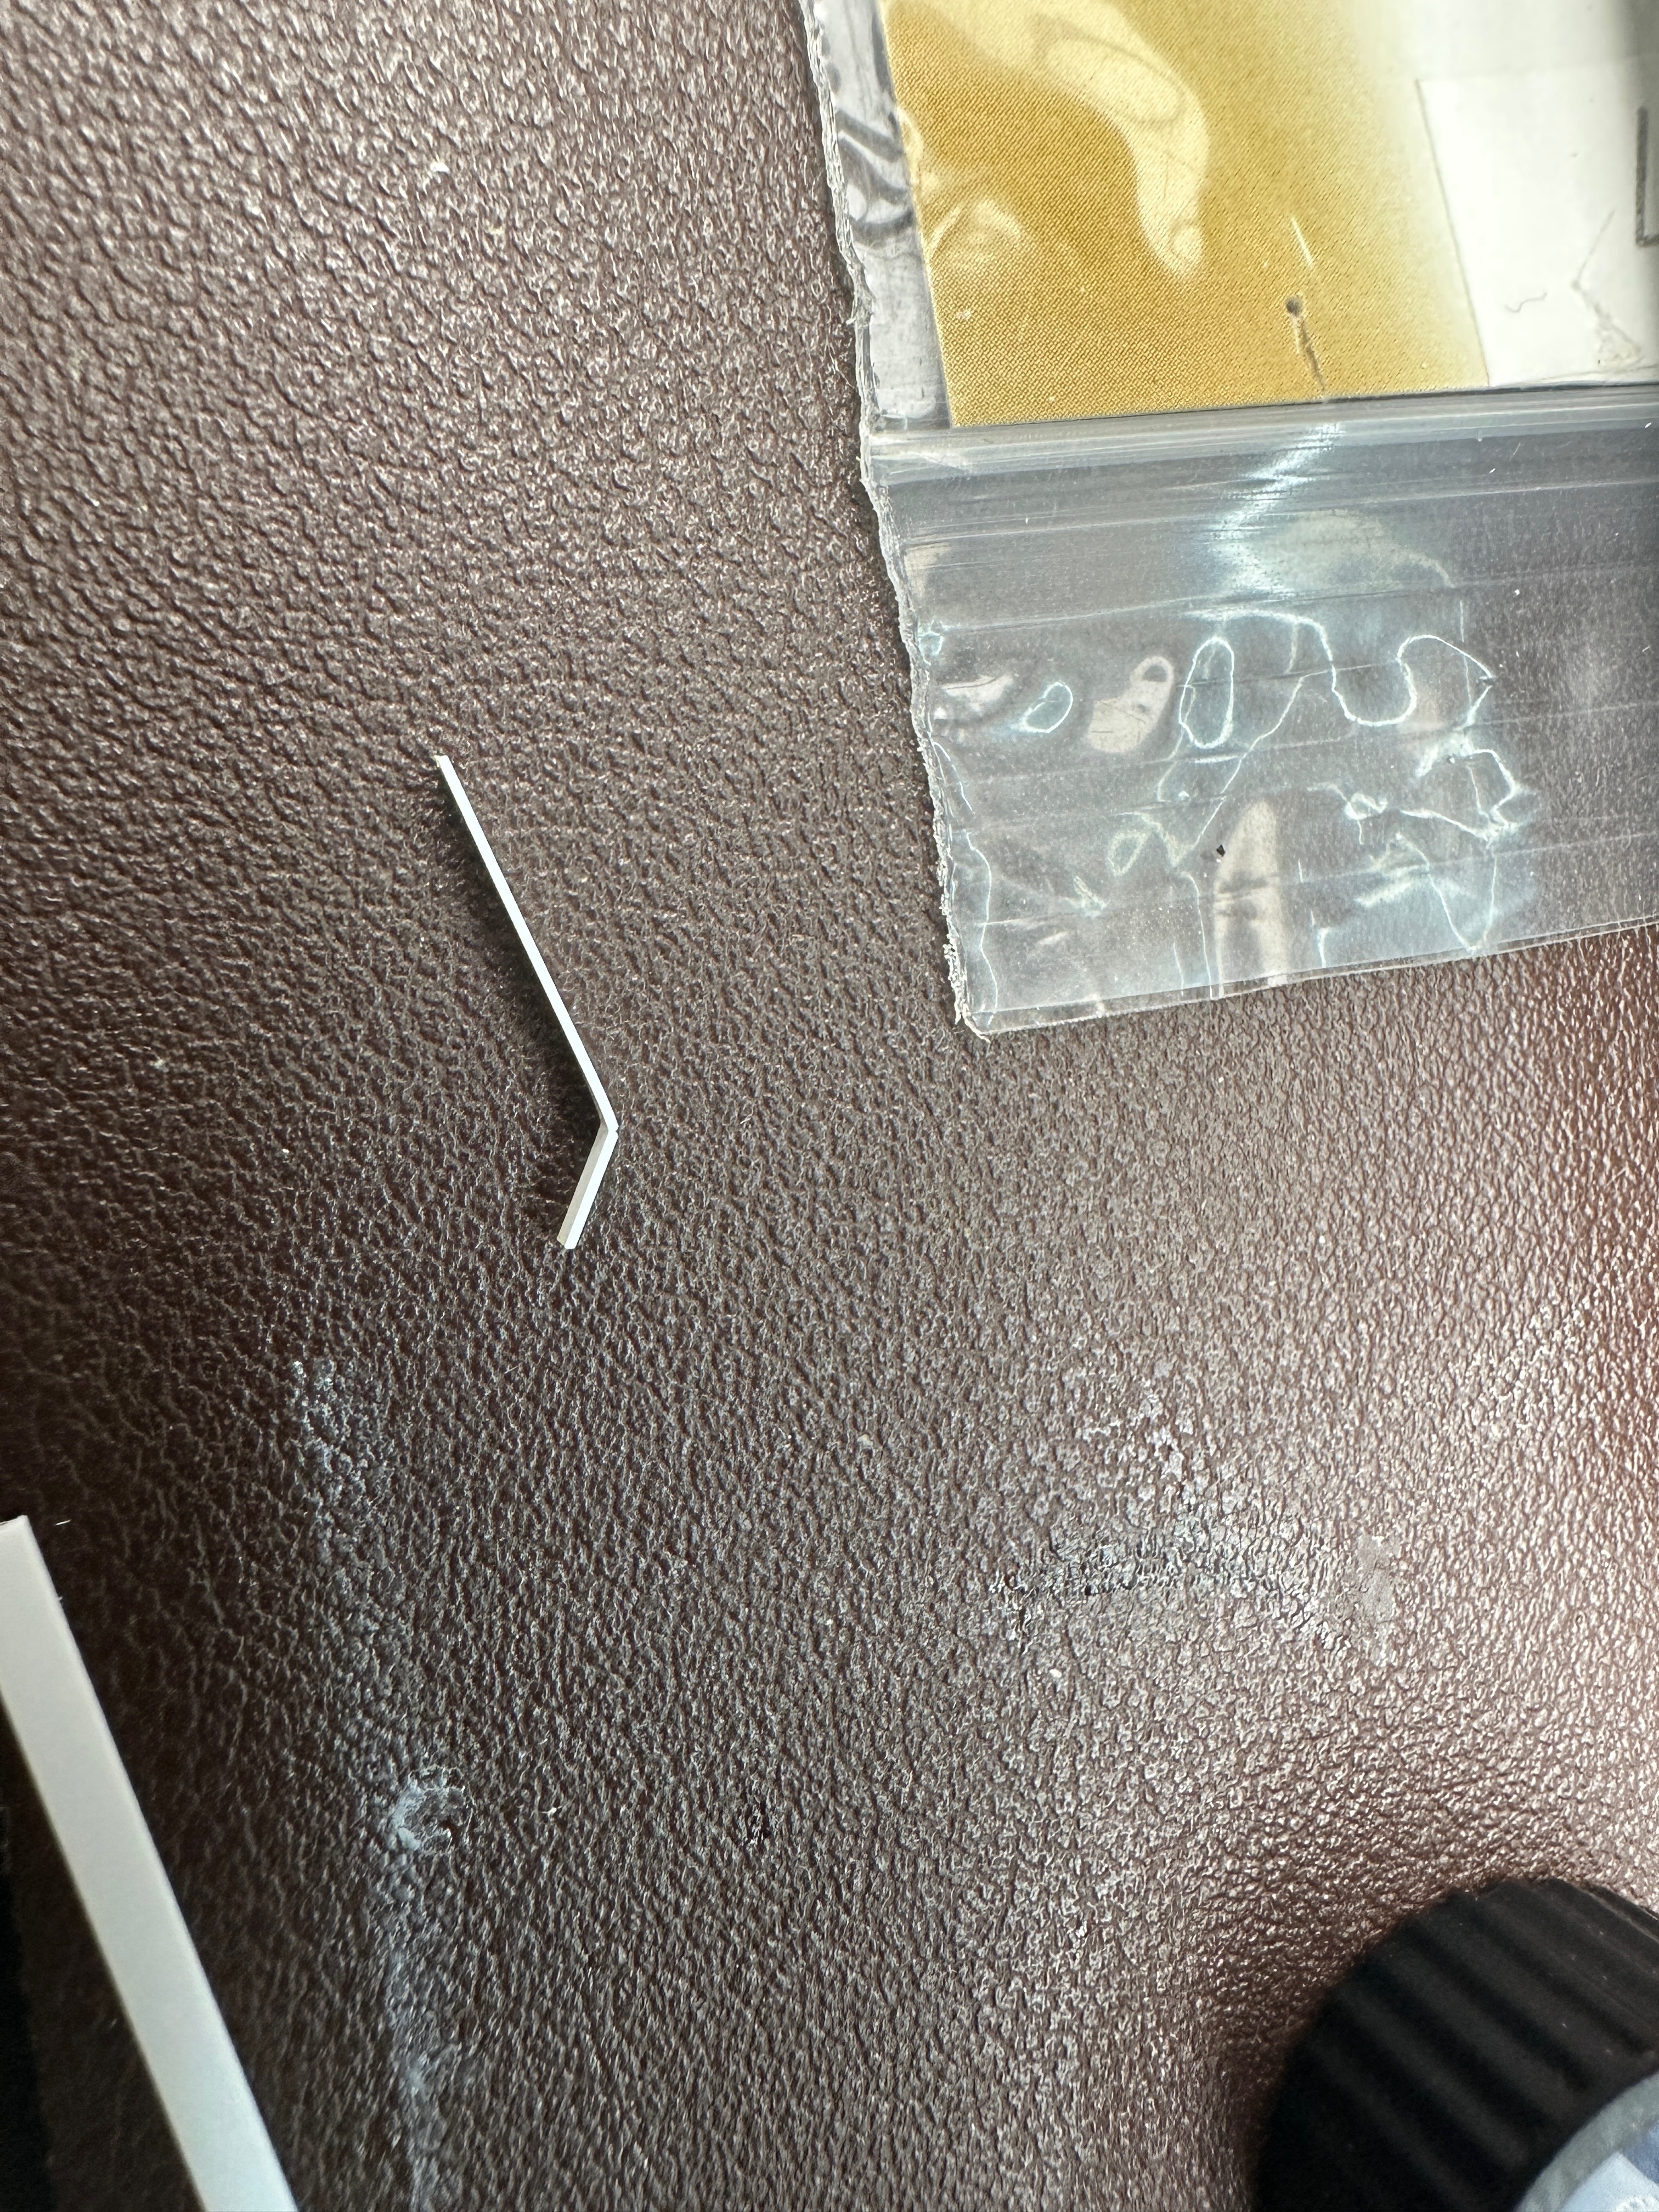
I scored a second piece of 1"x 8" styrene so I could bend it to make a handle for the other part of the whistle bracket.


You can see how I'm installing it here using styrene cement, and a picture of the prototype behind it. On no. 0967 it's mounted about a foot forward of the cab roof.


On the second unit, no. 0994, it is mounted about three feet forward. you can see the difference in spacing between the two below:


More to come...