
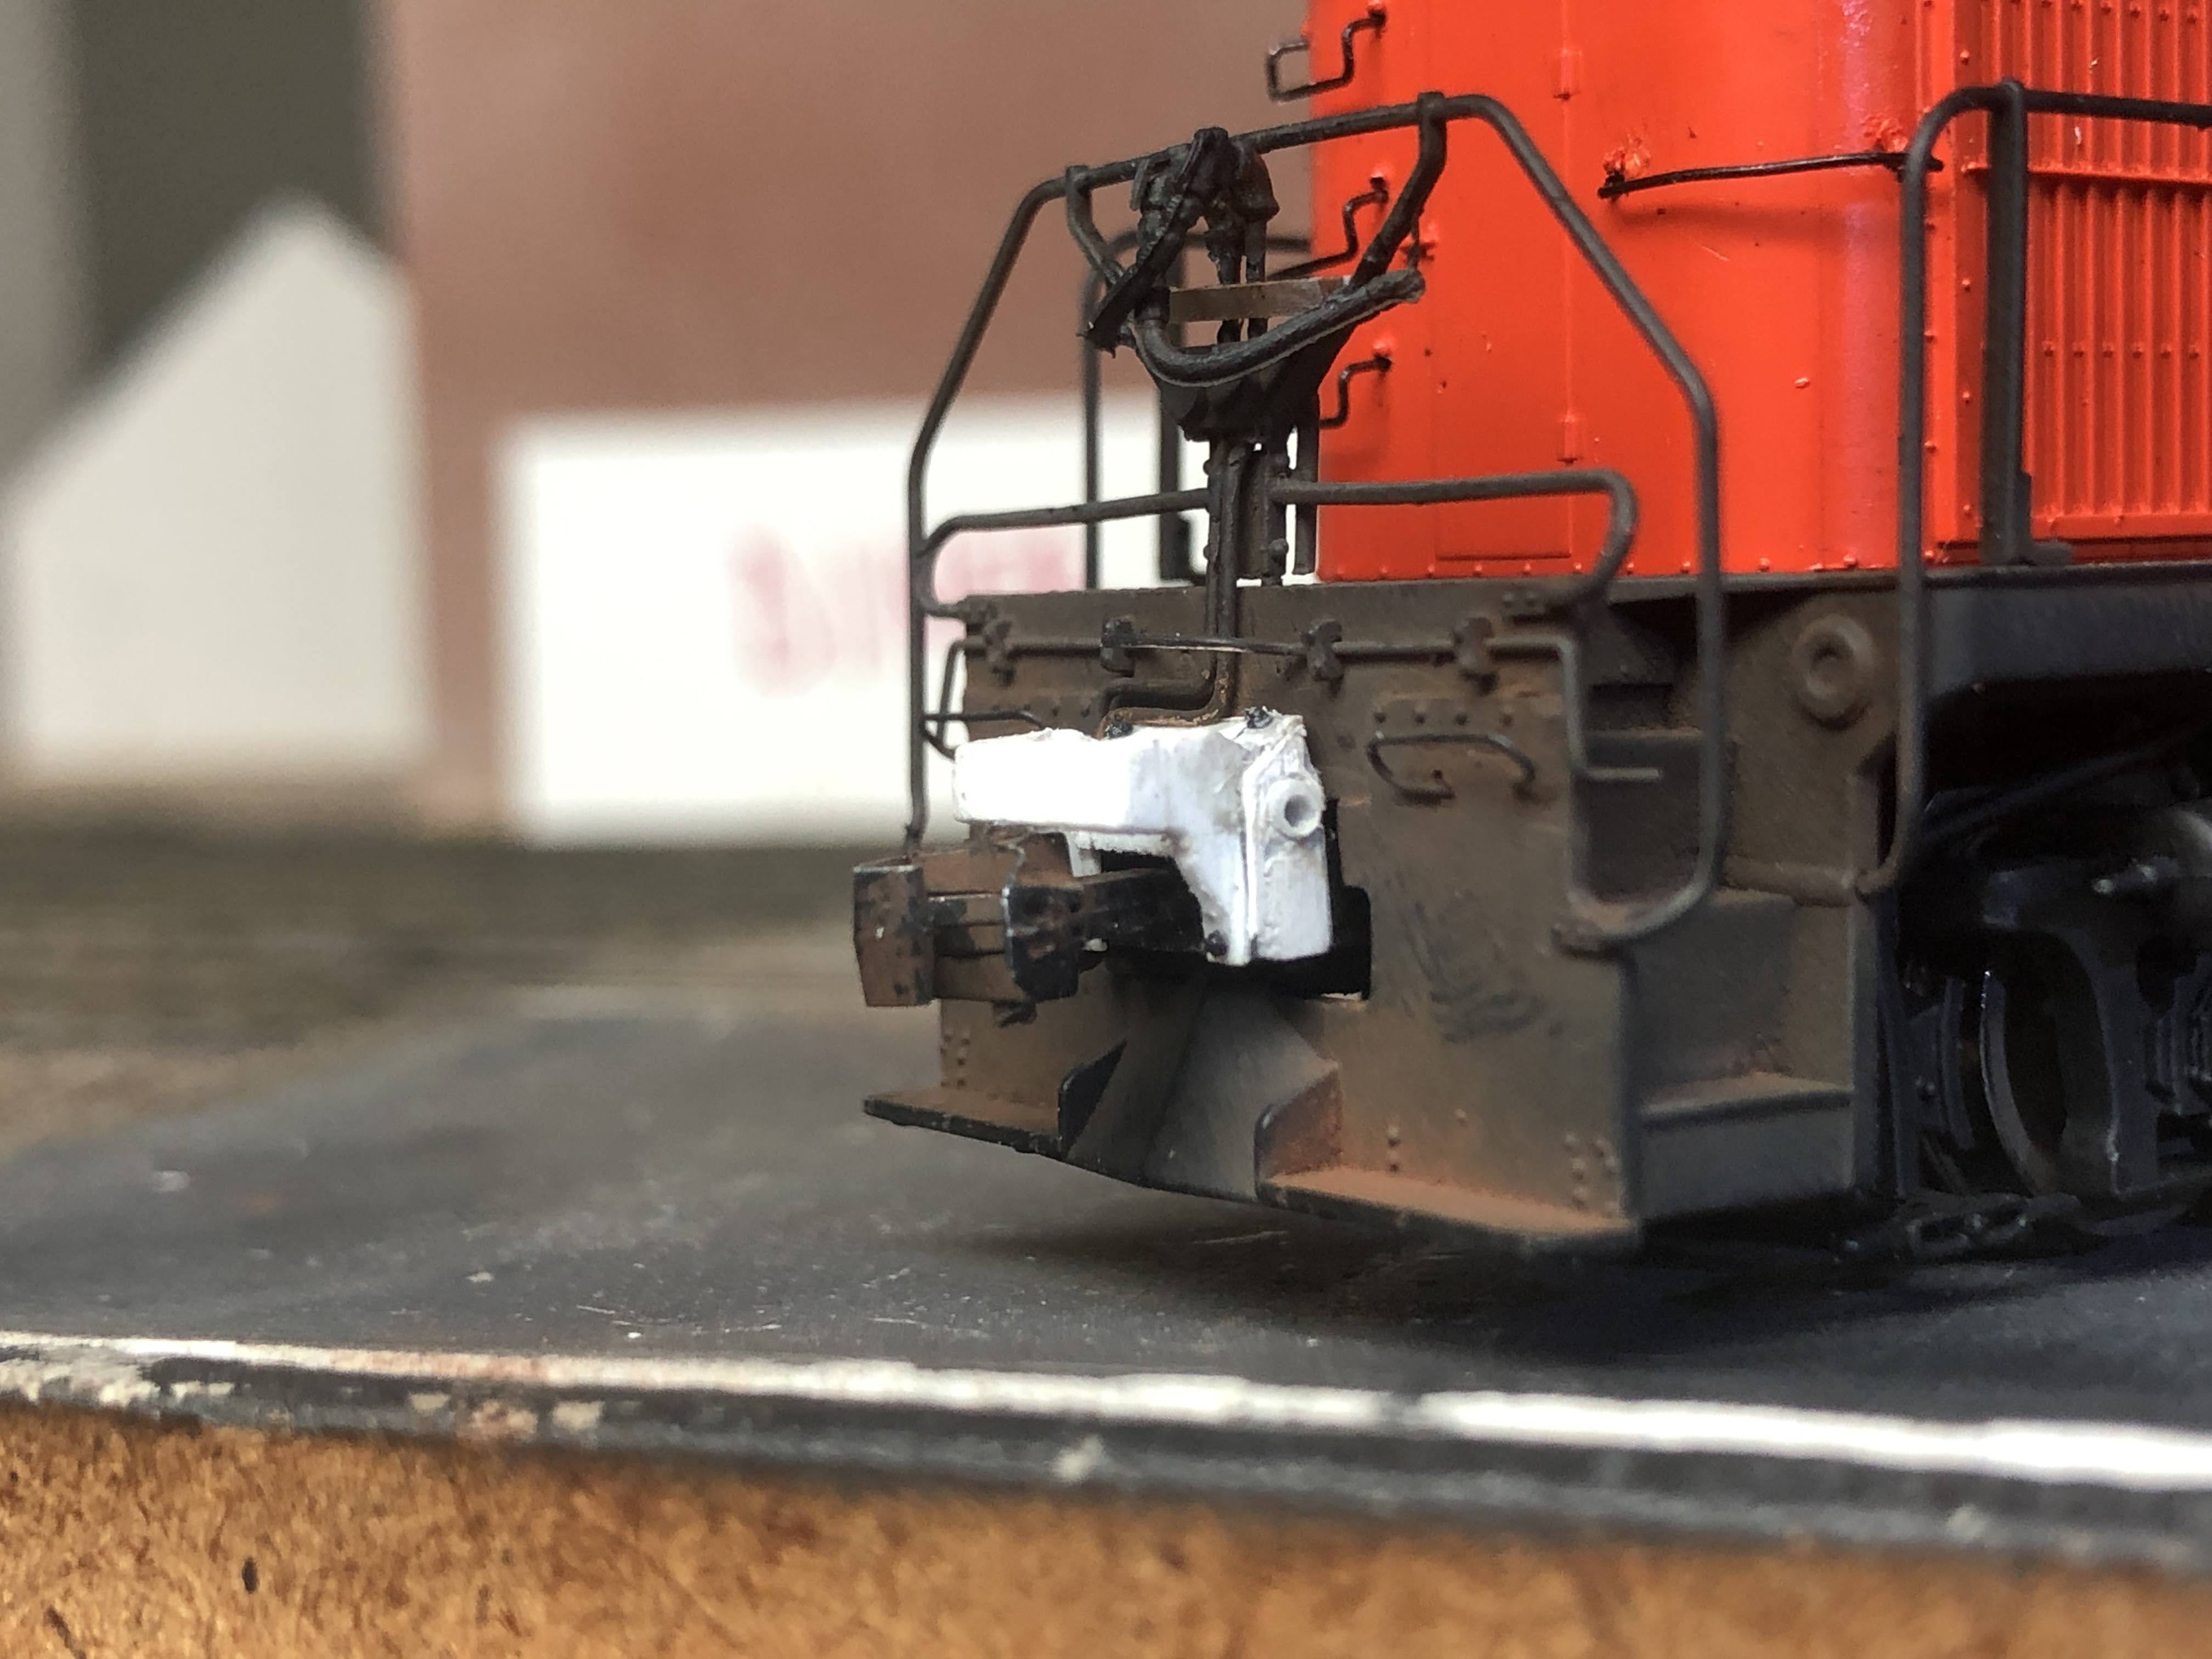
Next up is an often seldom-modeled detail - coupler buffers. In the case of the DERS-2b this consists of two parts. First is the actual buffer, which is a large casting that is also a close match to what is used on the DERS-2c (RS-3) locomotives. The New Haven also had an extended buffer since these were assigned for passenger service. This is shaped steel and you can see that it is bolted to the buffer itself in the picture below:


If you examine the photo closely enough, you'll see that there is an upward angle on the top portion that mirrors the angle on the bottom. This is a piece of steel in a 'U' shape, open at the top for the uncoupling lever to attach to the coupler below. Also of note is the hole in the side of the buffer itself. I'm not sure what it's there for, but I wanted to try to capture it.

This is my first attempt, which I determined was too small altogether, and too short top to bottom. But like many of my experiments, it served as a proof-of-concept so I could go about making the four buffers I'd need, and was very helpful in figuring out just how I'd go about it.
The starting point is a standard Kadee #242 snap together gearbox (coupler box). I trimmed two pieces of scale 2" x 8" cut .185" long, then cut an angle with the front edge measurement at .125" to form the sides of the buffer.

I used .040" x .080" strips for the sides and the front of the buffer. I just eyeballed this measurement based on test fitting with the coupler.

I glued a couple of small pieces of 1" x 3" to the front, and then small triangles of the .040" x .080".

I notched the top of the passenger buffer to match the angle formed by the side, and then back up where that side ended. I then drilled a small hole in each side, and then widened it with a bead reamer so I could fit a piece of .30" styrene rod inside the hole.

I trimmed the styrene rod and sanded it to leave it just a little proud of the side. I then drilled out the center of it, and reamed it to widen the hole. This formed the ridge around the hole. I then use some scrap styrene to make the top of the buffer itself, and glued 4 nbw castings for the attachment points of the passenger buffer. I filed the edges and corners (and the inside of the front of the buffer) to give it that slightly rounded look of formed steel.
For the other three, I used a small piece of scrap to form the front face of the buffer before attaching the front of the passenger buffer itself. It was easier than trying to do it after it was built. You can see the other completed buffer here, with the other three under construction.


You can see my consistency is not great, but when on the model, painted and weathered they are good enough for me.
I painted/weathered them using a Woodland Scenics Steel Rail paint pen (it really doesn't matter what color, though), and then Pan Pastels to provide the actual color. I did the same thing for the couplers themselves.

The step above the box is Plano diamond tread material, bent to form the step, with three small strips of styrene (which you'll probably never see) as supports.


You can see I had to curve the underside of the buffer (and also file the top of the coupler) to get it to swing freely. It would work without that, but not self-center. I'm not sure I could have avoided this, since I couldn't really make the whole buffer taller. It's just a side-effect of things not being exactly to scale, but I don't think it detracts from the model.

Although hard to see in the photos, I used some of the rubber sprue from the Hi Tech Details air hose set for the air hose piping next to the coupler buffer that goes back under the walkway. I figured having some flexibility would be helpful, and I could easily bend them to glue to the back of the pilot.
Parts Used in this post:
The model is a Life-Like Proto 1000 (now Walthers Proto) RS-2
Jim Lincoln (Contact me for ordering info)
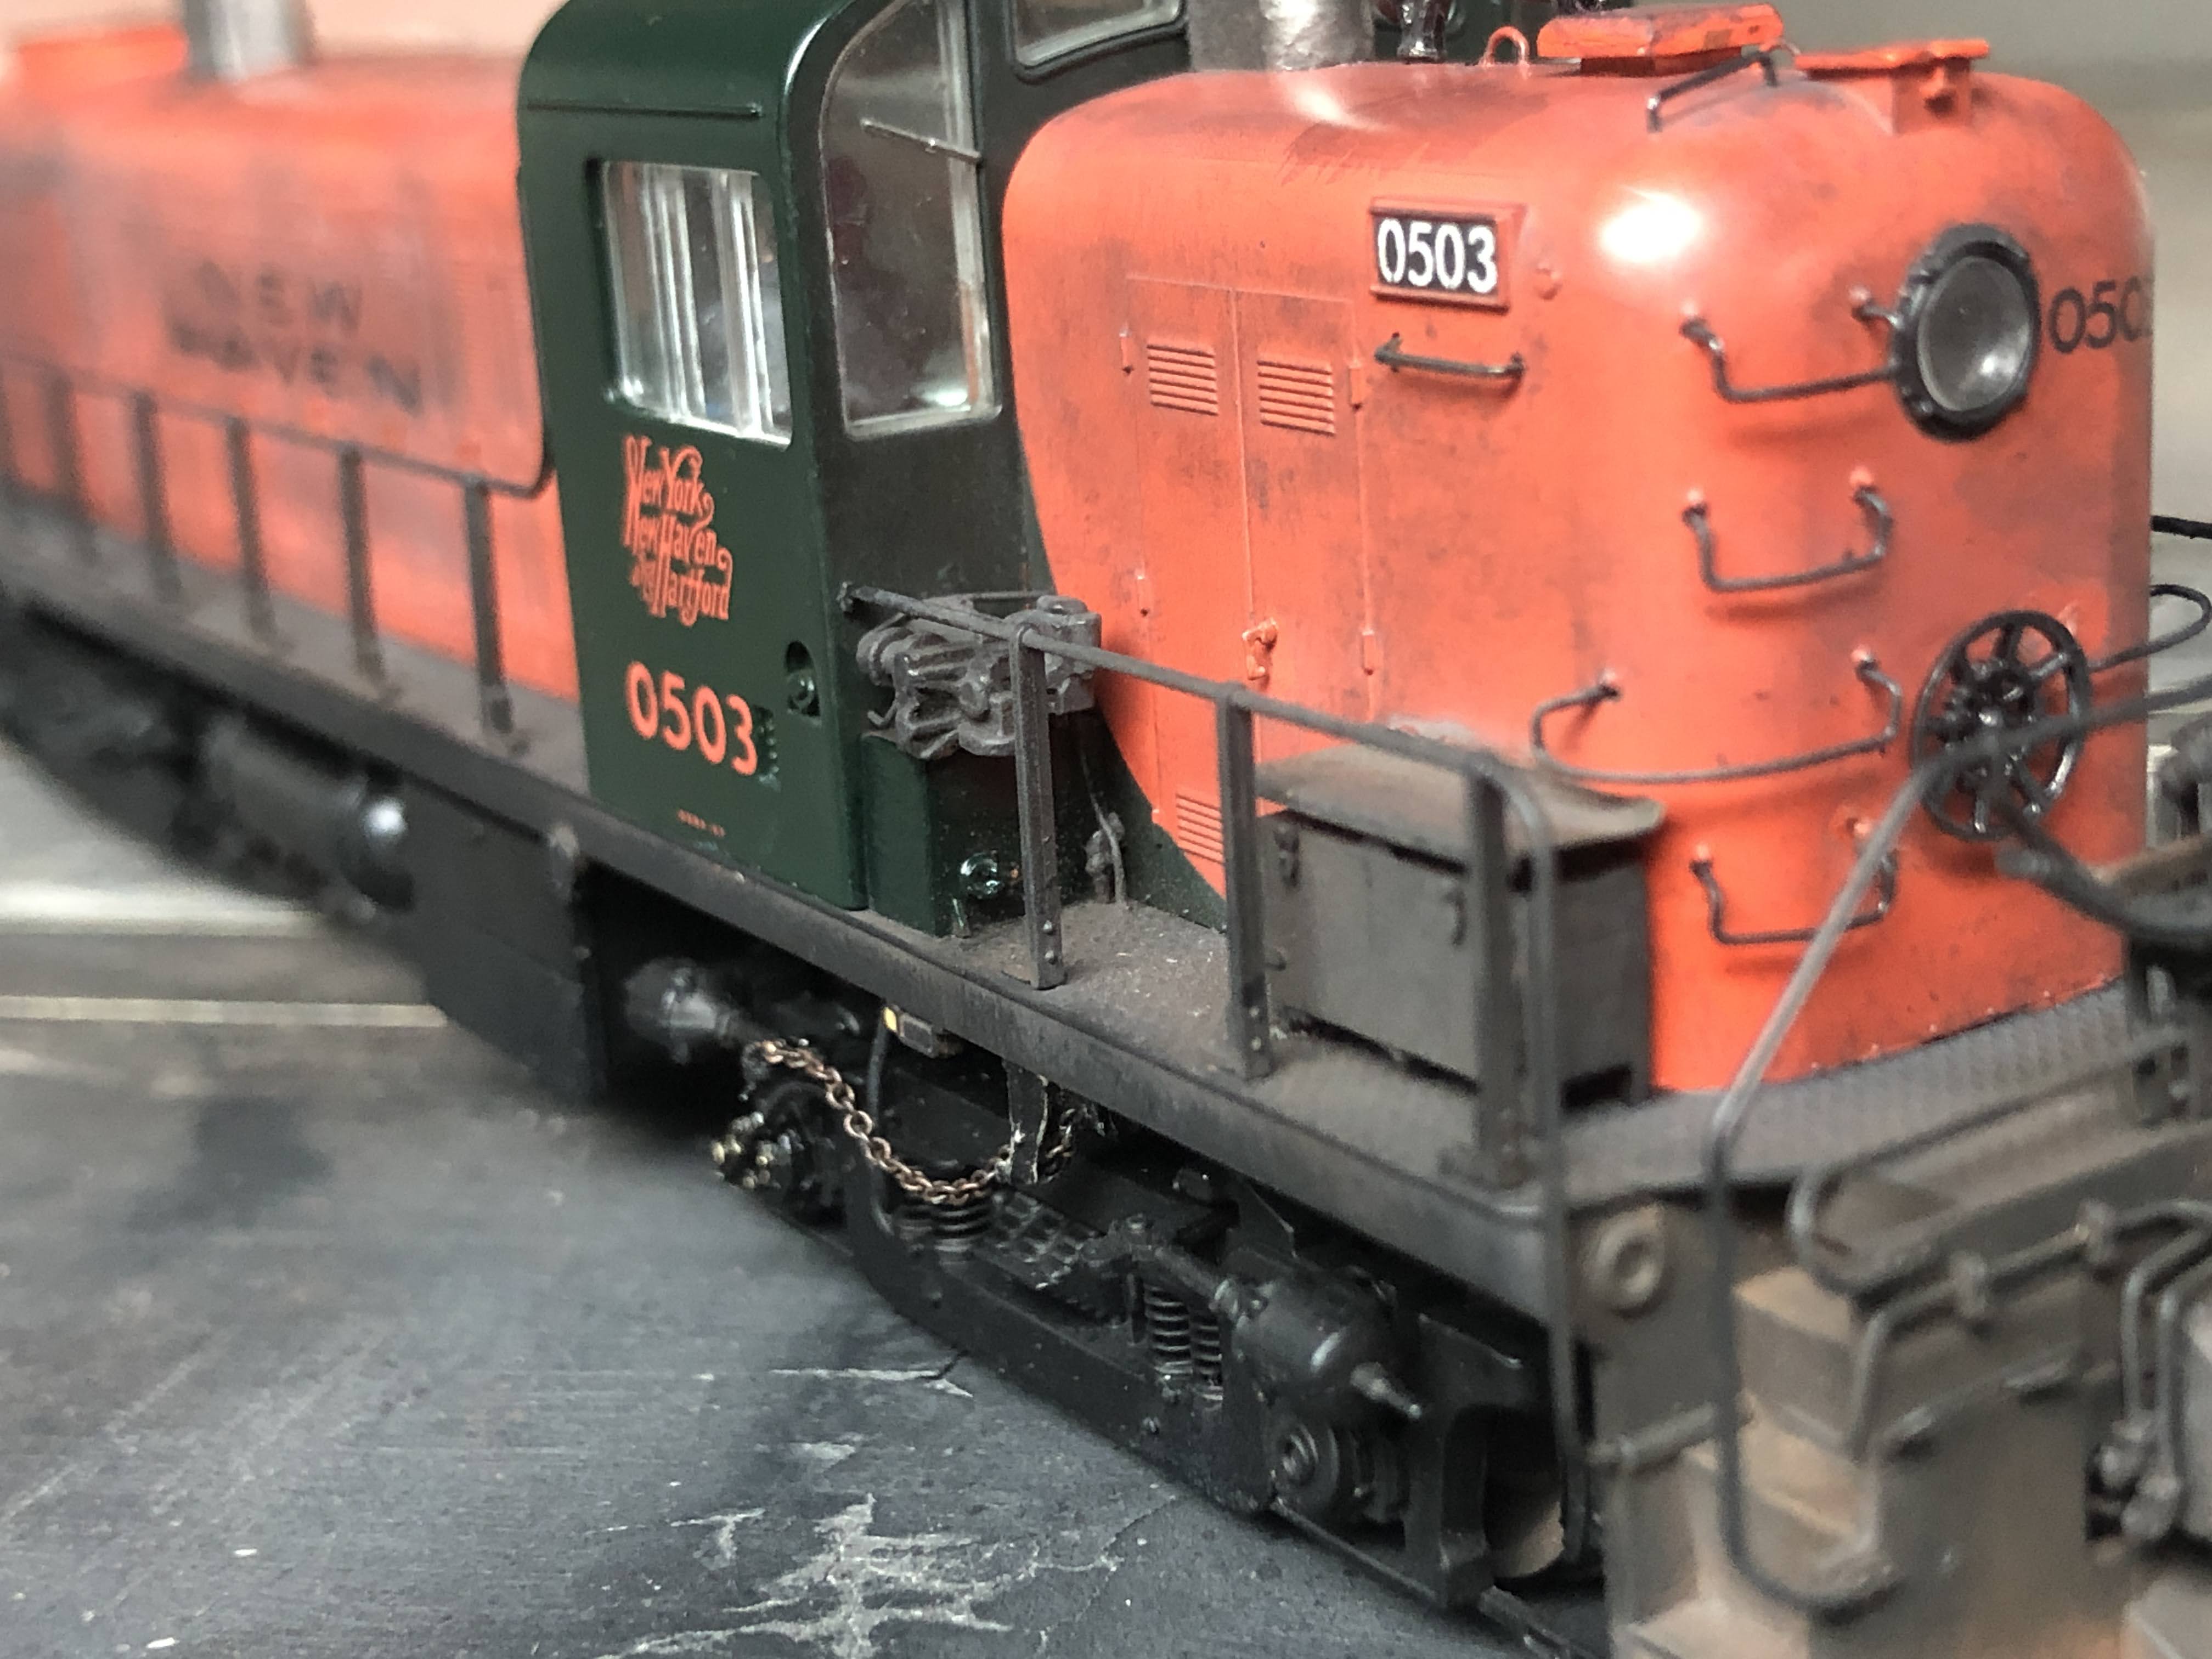
New Haven Cab Signal Box
How'd you install those truck chains? Is there a part V coming?
ReplyDeleteYep, there are at least two more parts I'm in the progress of writing. Chris detailed his installation of the chains here: http://blog.thevalleylocal.net/2016/08/modeling-monday-rs-2-pilot-details.html
ReplyDeleteI planned on following the same process, but then ended up trying several options and think I've settled on one that works reliably for me. This is good since I have to add these to at least 8-12 other locomotives...
Really nice buffer - and a lot more involved than what I did. And the signal boxes look great! May have to get a few of those for my Shore Line locals . . . And did I miss how you weathered the trucks & walkways? They look great! Now you just have to weather the hoods :^)
ReplyDeleteThanks! I just did a preliminary weathering on the trucks, walkways, and pilots with Pan Pastels, most of which has work off through additional handling while finishing the models. So I'll do a final weathering when they are complete. I have done the hoods as well - twice. I really didn't like the way the first attempt came out, so I cleaned it off and tried again. I like it much better, but it's not exactly what I was shooting for. But it will do and I'll cover the weathering in a future post, after I finish up a few more details that I'm working on.
Delete