For the 600-series coach conversions, like the New Haven, I need to modify the interior and remove the rooms and parlor chairs and replace them with walk-over coach benches.
Before I get to how I'm detailing that, it probably helps to get there first...
Disassembling the Walthers Parlor Car
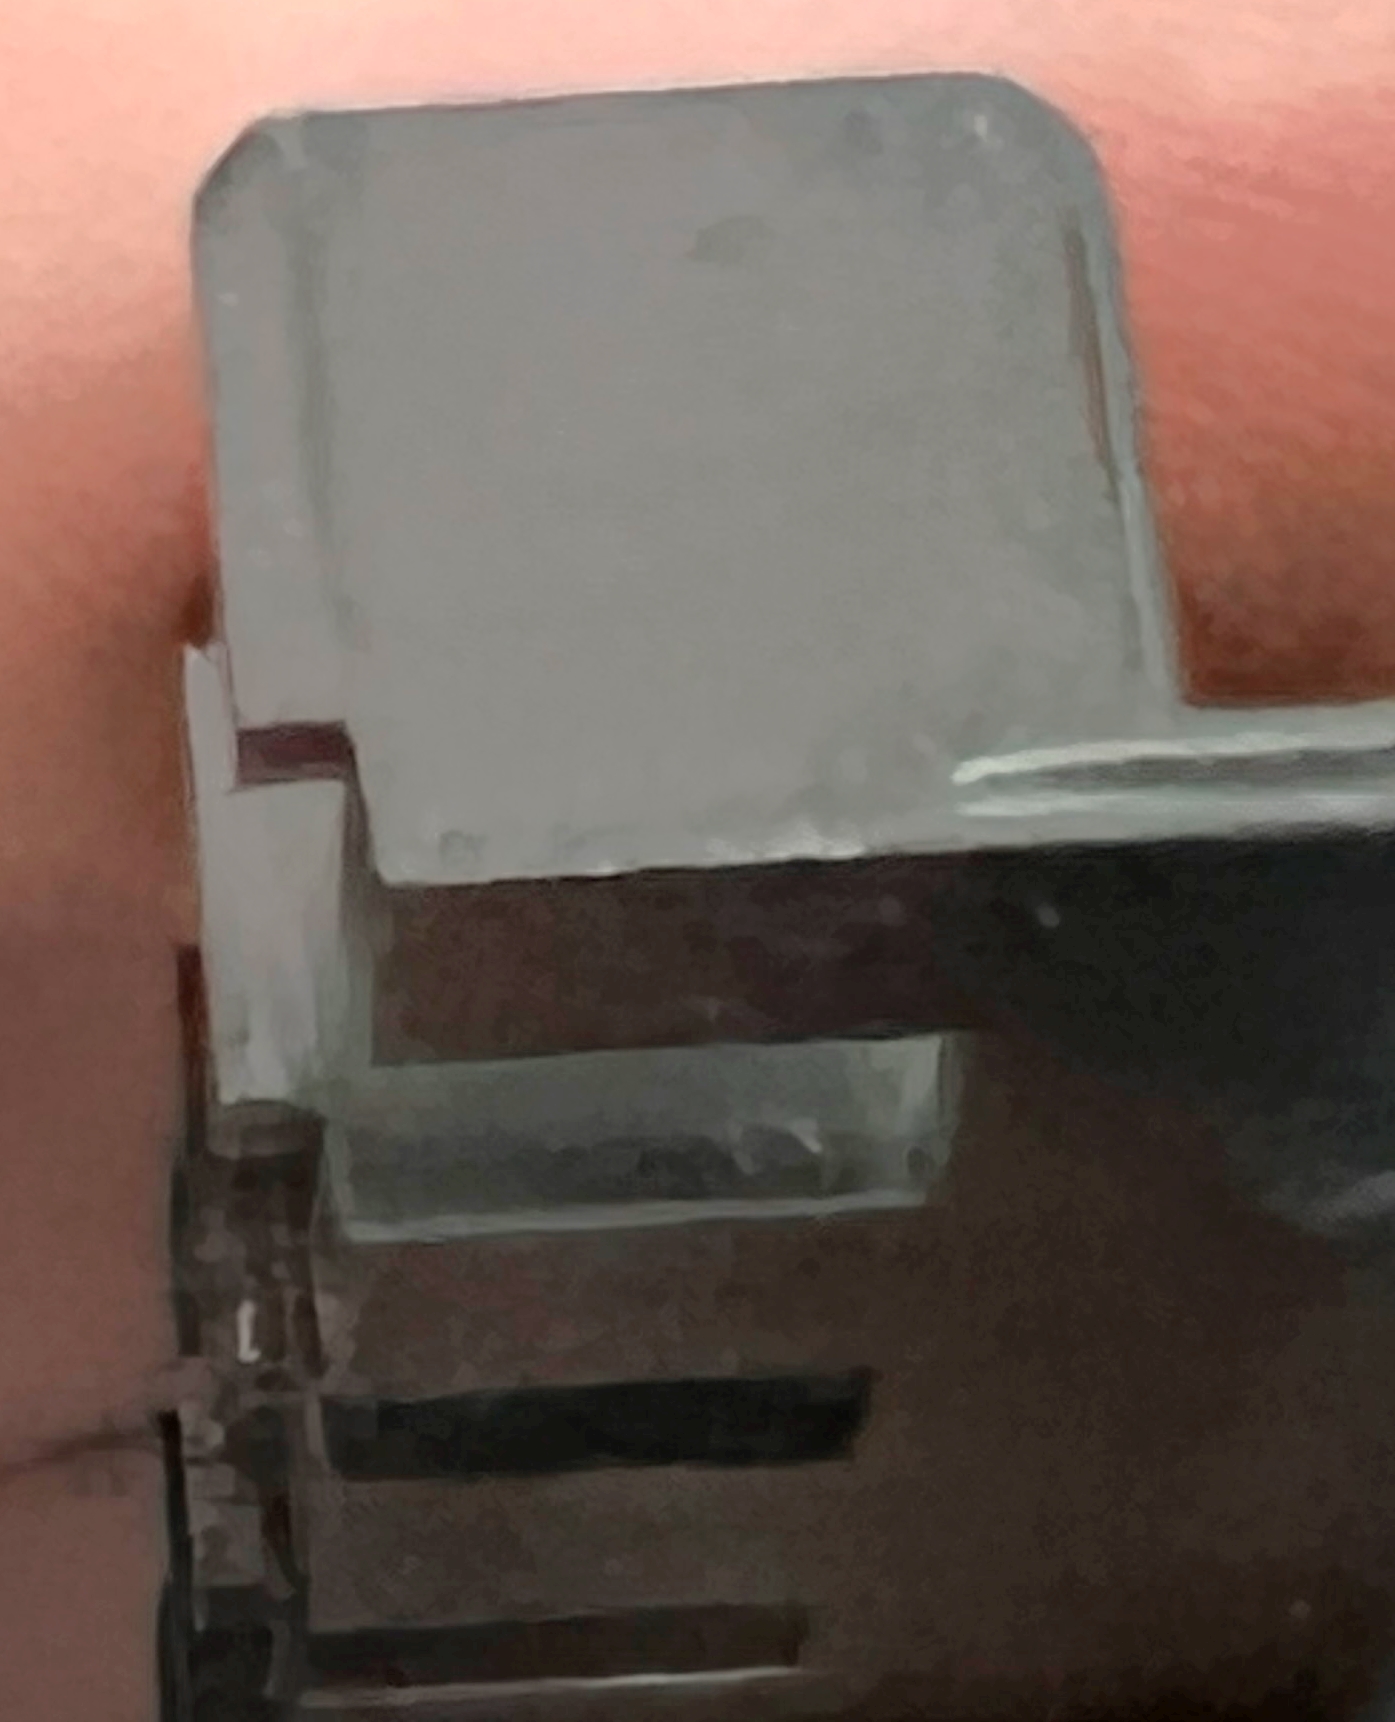
The model is ingeniously designed, and, except for a few screws and the windows, everything snaps together. There's an inner plastic frame and roof and sides simply snap in. To get the roof off I used a plastic painter's palette knife to pry the sides outward to free it. You can see the notches at the top of the false side, with the slots underneath them. That's where the roof attaches. The round holes are for small alignment pins on the car sides.
The sides attach the same way, into different slots. You'll note that this side doesn't fit. The slots are spaced in a way that each part only fits one way. I'm not terribly concerned about the slots for the car sides. I'll probably glue those in place when I'm done and leave the roof as just a snap-in part.
The subfloor is two metal weights sandwiched between the floor and the chassis.
These are held in place by plain old clear tape from below.
The bulkhead is a snap in piece, and the ends also snap in.
To take out the interior you must remove three screws.
Two are under the trucks. One is in the center.
I'm not using these screws.
There are two thin metal pickups for electrical.
I won't be using these. They just pull out with a pair of pliers.
It requires a bit of effort, as they are taped in place.
Once the screws are removed, you can take out the interior in one piece.
There is some double-sided tape holding it in place in the middle.
This is also used to hold the chassis on when the screws are removed.
The steps are held into place by the chassis.
If you aren't going to use their lighting system, you can remove the connectors.
This requires removing the end and the chassis.
You can see the double-sided tape that held the chassis and pick-ups in place.
The floor itself is notched to fit around the snaps for the sides.
It also has small squares in an asymmetrical pattern, so it fits one way.
Building the Interior
I used the seating inserts and partitions from the Branchline (now Atlas) coach kits. You can get these parts from
Bethlehem Car Works. I started by matching the thickness of the original floor with .030" styrene. I then cut out the four new floors I would need.
After a quick test, I found that it isn't necessary to cut the notches to fit around the snaps for the side. Instead, the floor can just sit on top of them. I will probably add a couple of pieces of styrene to the bottom so I can use double-sided tape to attach it to the subfloor so it will stay put.
I drew a center line, then marked out the aisle for reference: 23-3/4" from the plan, or 12" on either side is fine. Precision isn't necessary here since it's not going to be very visible from through the windows.
The women's saloon is on one end of the car and is 6' long. This is on the same side of the car as the car side that required the window arrangement to be modified.
At the other end, it is split into two parts; the lavatory is on the same side of the car as the women's, and the lavatory is on the opposite. These are both 4'-91/2" long. These are very close to the size of the Branchline lavatories so I just used those.


They consist of two pieces, but the partition is designed to fit into the Branchline side. I removed this long tab to make a simple partition.
I use a
UMM scribing tool to mark the styrene part, rather than a knife. This carves a 'v'-shaped groove and leaves little squigglies of styrene. It is much smoother than using a knife and cuts faster. It's actually removing material, as opposed to a knife squeezing between the parts it's separating without removing anything. You can get a straight cut on the ruler side by tilting the tool.
A couple of passes is all you need before snapping the styrene, but in this case it's a small section that's tough to get to bend over. Instead of my usual scalpel, for thick styrene I'll use a utility knife. The scalpel blade is too flexible to use a lot of force (they can snap) so this is faster. A couple of passes with a file to square things up is all that's needed.
For the women's saloon, I used the stock branchline part, and glued an additional section of the partition to lengthen it to the required 6'. If you look carefully at the parts, the edges are slightly beveled. This is to facilitate them being removed from the dies. I make sure the bevel is the opposite direction between the two parts so it will be nice and straight when glued. Then I cut it to size and remove the tab.
With this ready, I mocked it up inside the car body.
The important thing at this point is to make sure the partitions are where they belong.
You don't want one in the middle of a window. As expected, these are perfect.
The seating needs to be rearranged a bit.
I remove the two ends (where the lavatories are) first.
The seats have a notch at the bottom of the sides.
This fits into the Branchline side, but is too long for the Walthers car.
I just snip them off with sprue nippers.
Three of the models I'm doing were built to the same plan. I had to deduce the plan for the fourth. In Wayne Drummond's excellent article Butterflies to Caterpillars (Shoreliner 21.3) are several pictures of the conversion process of parlor car "Gertrude" into coach 633. There are photos of each side, which made converting the car sides easy, and several interior photos while it was being modified.
It's clear that there is a single women's saloon, on the left side when looking toward that end of the car, and two rooms at the other end of the car. Looking at the exterior, there are two windows with frosted glass at the left end of that car side, the same as the other floor plan. In one of the interior shots you can see that there is a water cooler just next to the women's saloon, also like the other floor plan. And they are both 88-seat coaches.
With this information, it's clear that the interior arrangement is the same, and the men's saloon doesn't have a window. That makes it easy, since all of these cars have the same interior.
The Branchline seating is spaced 3' or so apart. The Plan shows a 3'-1/2" spacing. At either end are seats spaced slightly farther apart. I didn't do anything other than just get the arrangement correct with using a spare seating part.
My initial plan is to not glue the seats in yet so I could paint the floor and partitions separately from the seats. However, I also want the floor section of the Branchline seating. So now I think I will glue the seats in prior to painting, and hand paint the seats.
These cars (like most, if not all, New Haven coaches) have walk-over seats. At the end of a run, the conductor would reverse the seats in each car. Of course, we can't do that on our models. I will be installing passengers in the cars. While this probably won't be noticed by anybody while operating, it might show up in photos. Since these cars aren't turned at the end of the run, and I want to feature the car side that has been modified, I installed the seating in two of the cars facing the women's saloon, and the other two facing the other end of the car.
This interior is correct for coaches 600, 602-606, 608, 612, 619, 621, 622, and 627-37, or 22 of the 60 cars. Nine of which could have been assigned to trains running through New Britain during my era.







%20roof%201942-09-06%20near%20Franklin%20MA.png)
