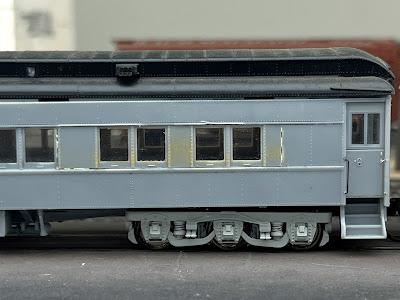
I decided I could probably improve the car I had done a while ago that looked like this:
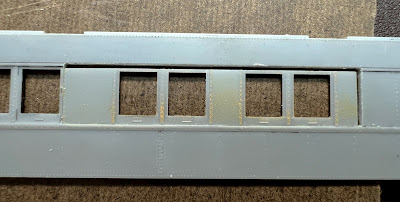
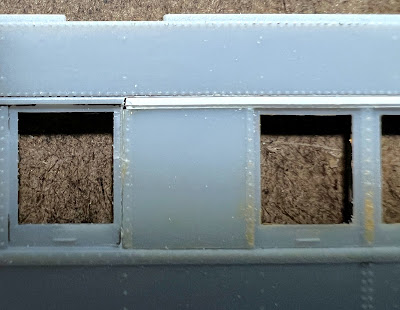
Part of the reason I decided to do it is the piece came out when I was removing the window glass (since I'll eventually have to paint these). The I had damaged the upper drip rail and the key joint that needed work is the one on the left, next to the other window. I concluded the best solution was to square up the left side and remove the drip rail entirely since I can replace it with strip styrene.
The new windows should be flush with the back of the side, but there are mounting pins at either end (I had already "removed" the ones in the middle). So I used a piece of Masonite between the pins as a workspace and glued the windows along the bottom and left side. As I applied the liquid styrene cement I pressed the windows toward the left to make that joint as invisible as possible.
I tried a scale 2" x 6" for the drip rail and 1" x "4 for a filler piece, but it was still a little tall.
So I split the difference with .015" x .060" for the drip rail and .015" x .040" for the filler. It's important to have a good supply of strip styrene for projects like this. I make a point of always purchasing something when I go to a hobby store, and styrene is always a good choice if they don't have anything else I need.
Here it is glued in place.
All that was left was to fill the small space to the right. I had filed this square as well so it would easily take strip styrene. As it turned out it was a bit wider than .030" and narrower than .040". While I could have filed that a little thinner, I went with a piece of .020" and .015" and that made a nice, tight fit.
Looks much better, and didn't take me very long at all.


No comments:
Post a Comment