
Chris had the good sense to start a Facebook chat with our buddy Mike Redden and another one of our 3D printing buddies, Chris Zygmunt.
Within less than 24 hours, we had photos of multiple test prints to discuss as Chris Z. and Mike had worked up several variations.
Chris Z. printed out several and left them with Chris A. and last night I picked them up while at Chris A's for an ops session (yes, I know a whole alphabet's worth of Chris-es)...
The discussion revolved around a number of things, one of which is how it will be installed. The P2k model has a slight lip on the inside of the fan housing to hold the etched part. So a logical approach would be to be a part that can just drop in.
However, the actual set of shutters rests on top of a slightly larger housing. By making it the size of that frame, one can simply sand off the old frame (leaving the larger housing) and glue this on top. Another advantage with this approach is that the same part can also be used for the Atlas RS-1 and S-2, since those don't have an etched part to replace.
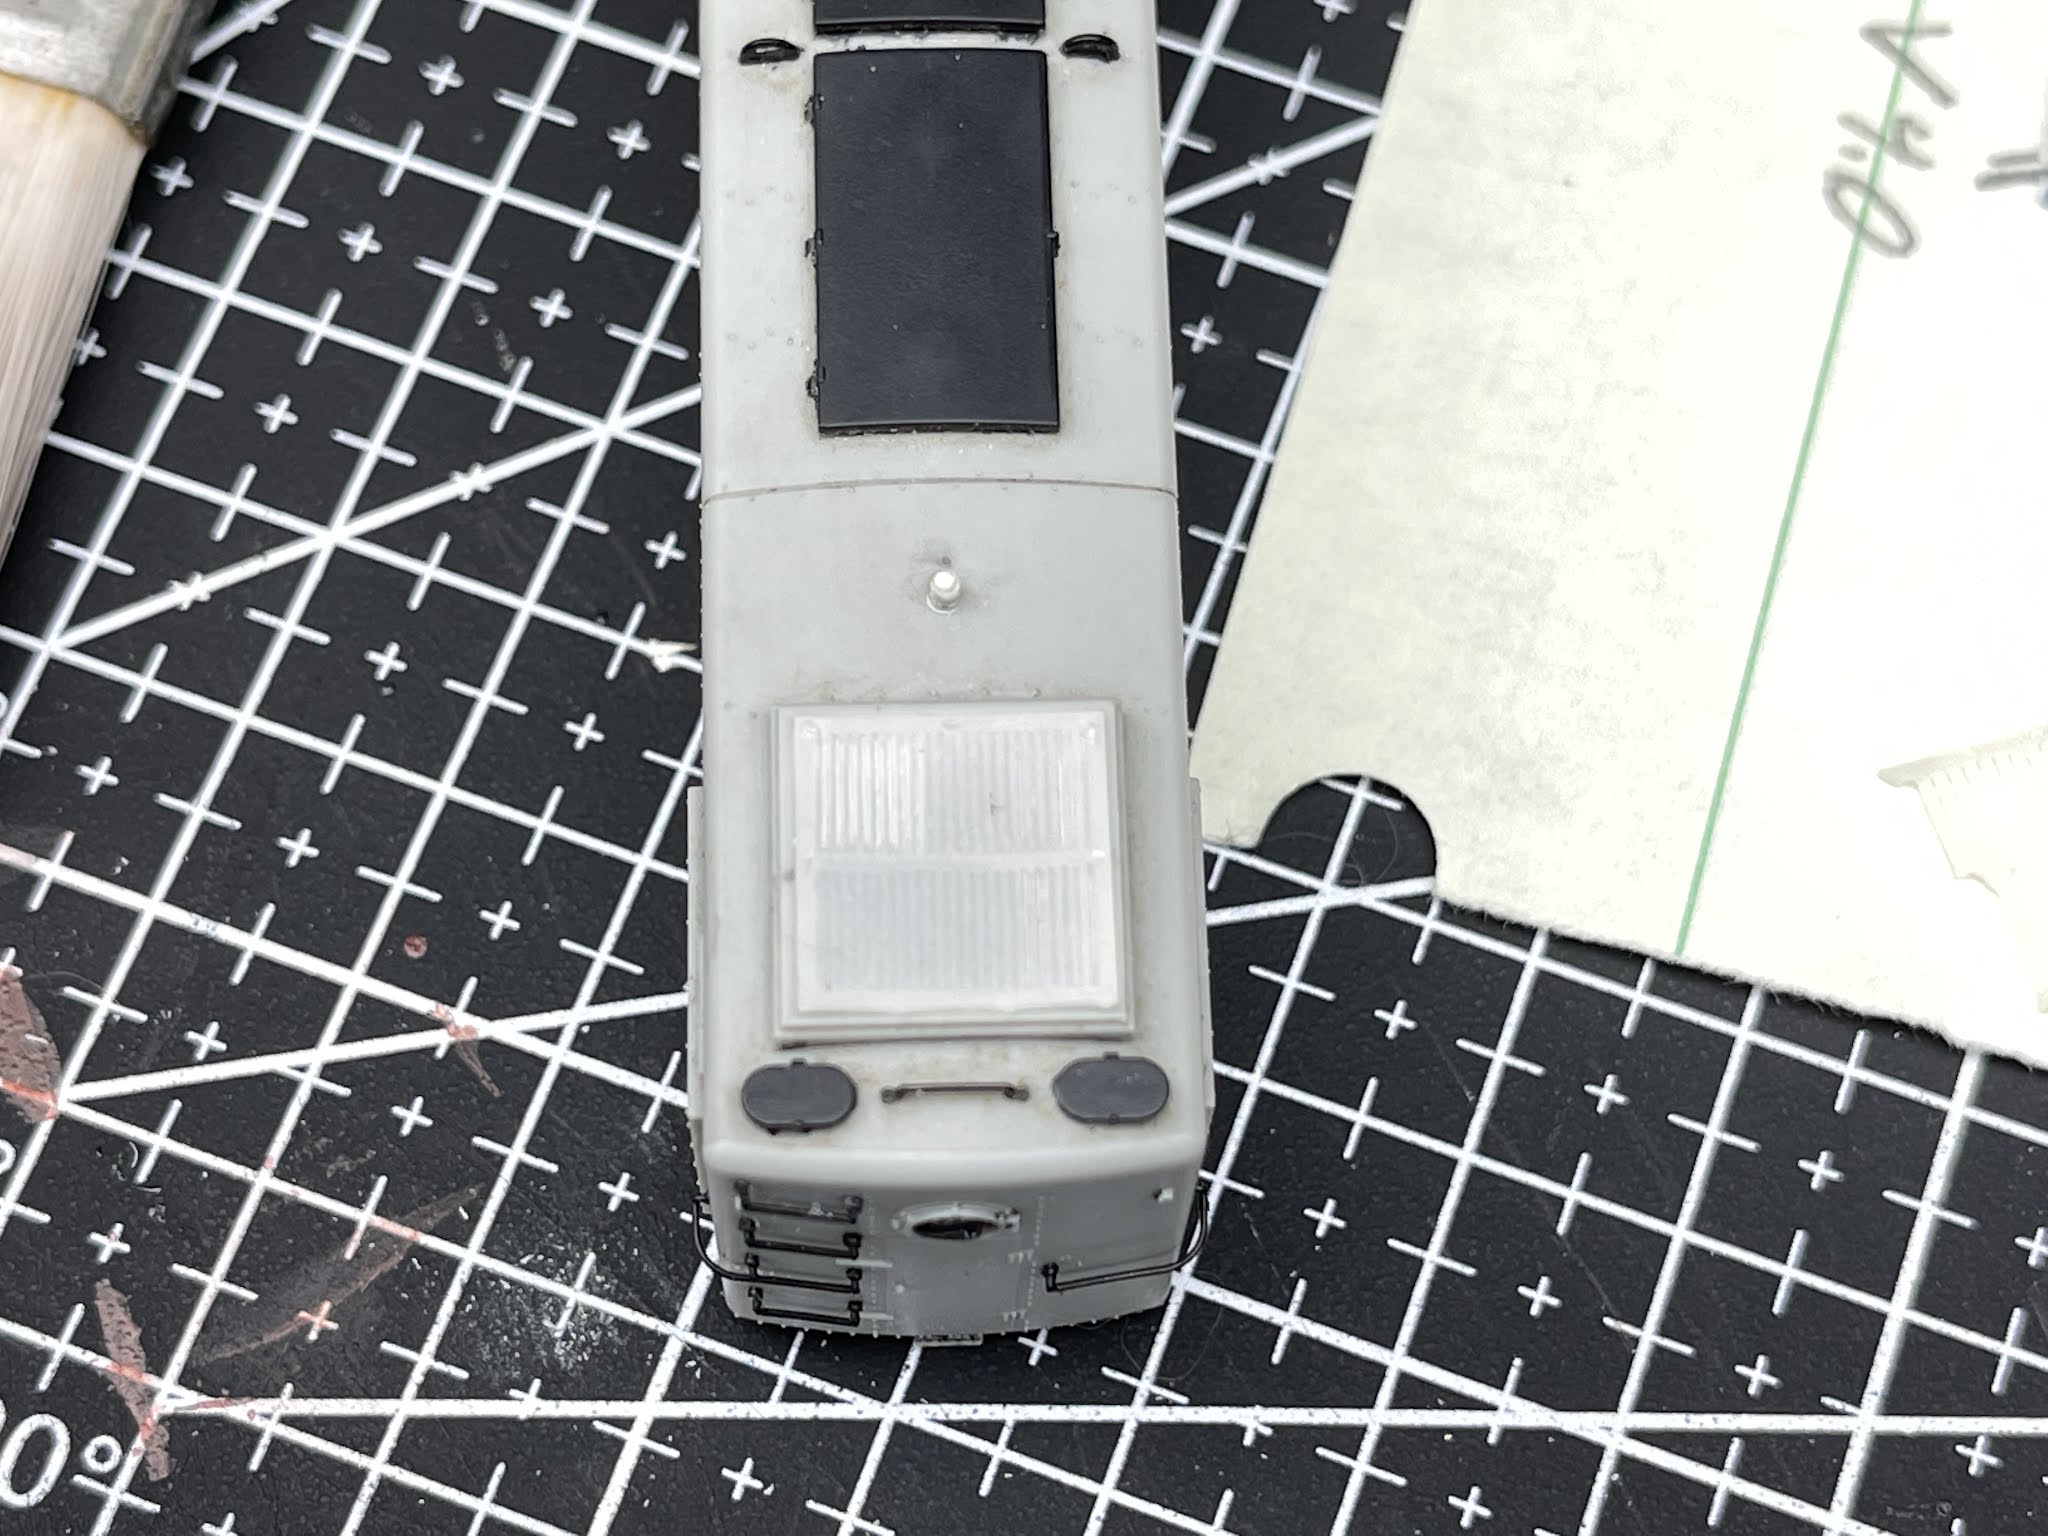
I have cut out the fan in my models, because I'm hoping to let the sound come out through the fan housing. To this end, I'd like a set of shutters that has openings between them.

So the first one I tried of the three that Chris Z. printed has 16 shutters, with spaces between them. The shutters of all of these are at a 45-degree angle, but are so small I'm not sure that will be visible. Only about 1/3 of the slits were open, so I cleaned the rest out with a scalpel.

I did end up with two small cracks in the process, but didn't look problematic. Until I was trying to cut off what was left of the supports and broke the end off altogether.

It won't be a real issue, though, it fits together cleanly. So here it is just placed on top of the shell.


I really like it, I'll see what the others look like. This is the one with the full 22 shutters that I believe is prototypical. It's slightly too small, but it really looks correct otherwise. I tried to open up spaces between the shutters but there isn't any way that will work.

The third option has 20 shutters, and is sized to be an exact replacement for the etched part, so it drops right in. Again, I couldn't open up spaces between the shutters.

I've seen photos of Mike's versions, but don't have any in person yet to check out. I may very well use a couple of different ones. Looking forward to those (as well as the radiator shutters Mike is working on).
No comments:
Post a Comment